Tech
Create Elegant Backgrounds for Health and Beauty Product Photos
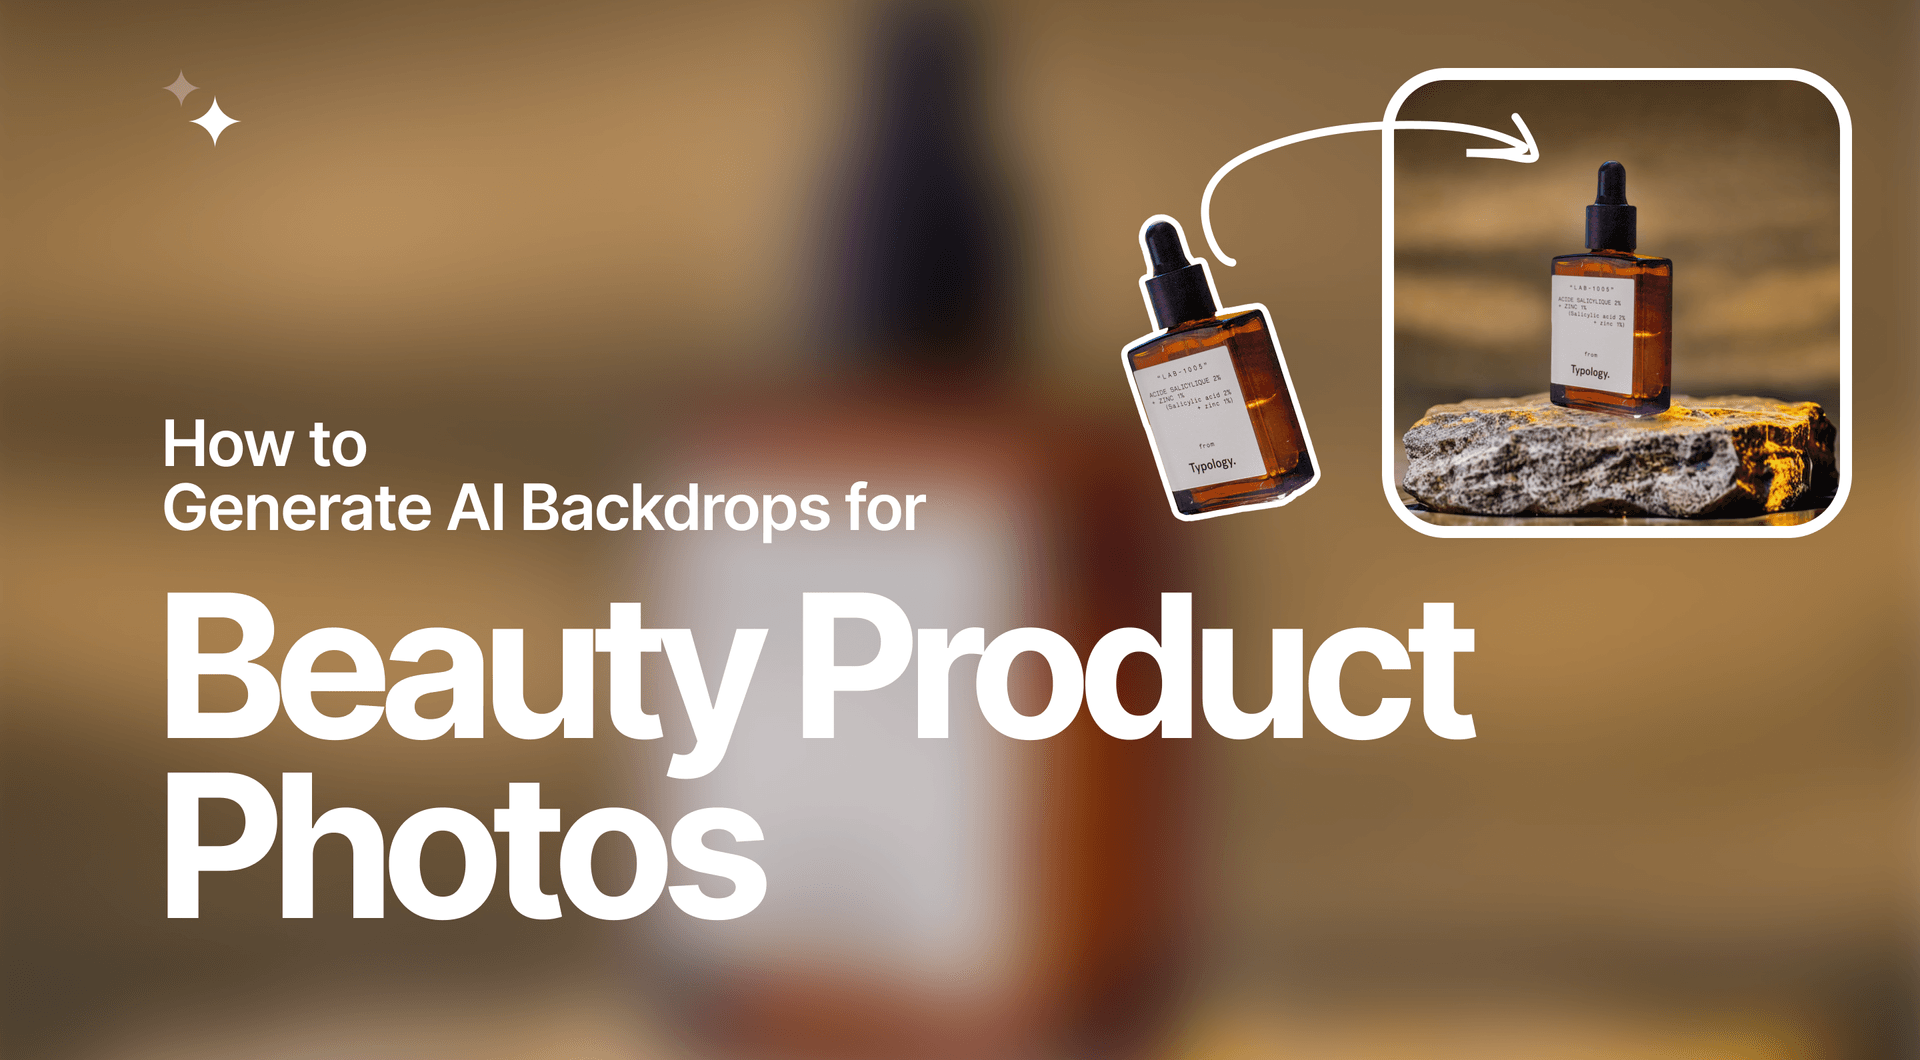
Elegant backgrounds for your health and beauty products are less than 30 seconds away. With this guide, you'll learn how to create gorgeous backdrops for health and cosmetic products that will improve your conversions. Read through our other guides which cover footwear, furniture, food, and car product photo background generation.
Generating Health and Beauty Product Photo Backgrounds with AI Photoshoot
Product photos say a lot about your eCommerce business. Research has shown that consistent high-quality product images can improve conversion rates, help bolster brand impression and recognition, and boost marketplace performance.
This is where making use of AI Photoshoot’s powerful AI to generate stylish backgrounds for health and beauty products can work in your business’s favor.
Check out our full video tutorial on how to generate backdrops for product images.
Step 1: Upload the Image
Click in this field to upload a photo of your choice.
💡Pro tip: It is recommended that you use product images with transparent backgrounds in AI Photoshoot. If you do not have a transparent image of your product, simply tick the Remove Background option to automatically make the background transparent.
Step 2: Choose a Scene
In the panel to the left, you can choose the background scene for your photo. You have the option of selecting from a number of pre-made Scenes or creating a Custom one for yourself.
💡Pro tip: We highly recommend selecting Scenes instead of Custom, as the latter is a more unpredictable option.
To help narrow down your options for pre-made scenes there are several subcategories to pick from. Since this tutorial covers creating backgrounds for Health and Beauty products, it’s best to select Health & Beauty, but do feel free to experiment.
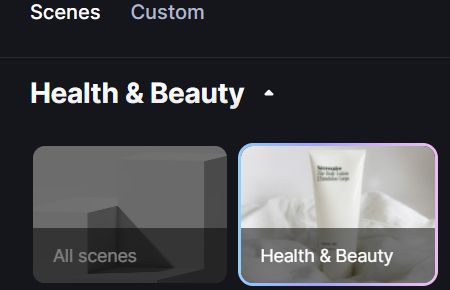
💡Pro tip: When picking the type of scene to use for your sneakers product image backdrop, it’s important to consider the angle of the photo itself. Match the angle of the scene to the angle of the health and beauty photo itself.
AI Photoshoot allows you to filter scenes shot from the Front and Top. For example, if your shoe photo was taken from the front angle, select a scene with a Front camera angle.
Step 3: Adjust the Product Image Into the Scene
Once you’ve selected a scene, adjust the product image to fit onto the surface.
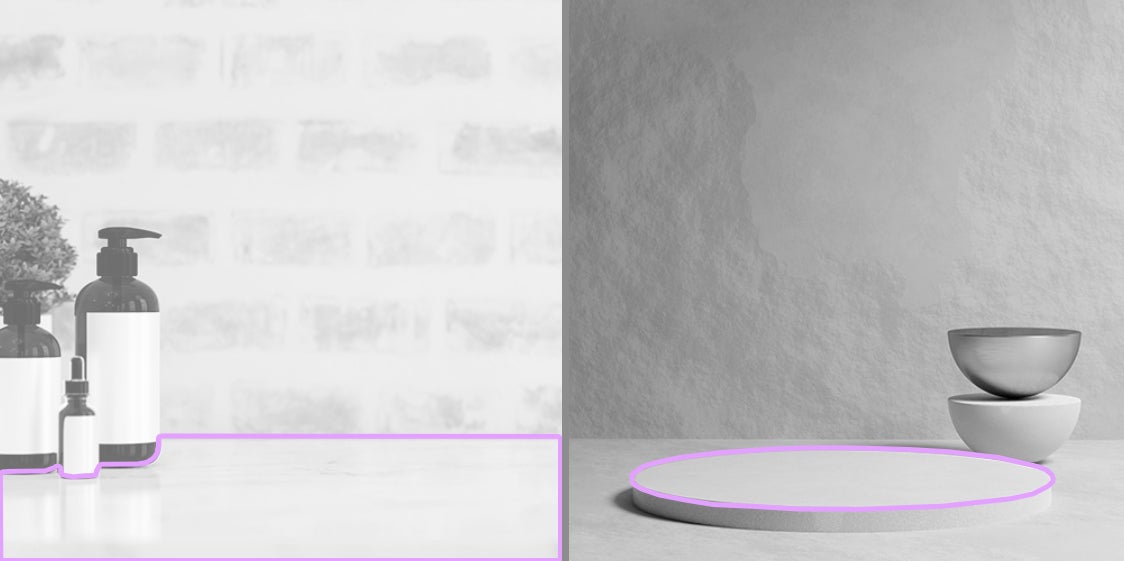
Resize and Align Product Naturally Into a Scene
One of the trickiest aspects of doing product photography for health and beauty products is the large variety of containers for beauty products, each with its own unique shape and size. There are product containers that have larger vertical scales, such as bottles, longer horizontal scales, such as a tube of cream, and flat cylinders, such as cosmetic jars. And this is just to name a few.
Depending on what product you have, you will need to find a scene template that can accommodate its shape and size. The example above illustrates how a bottle of shampoo can fit perfectly into this scene template given that it is placed naturally onto the surface.
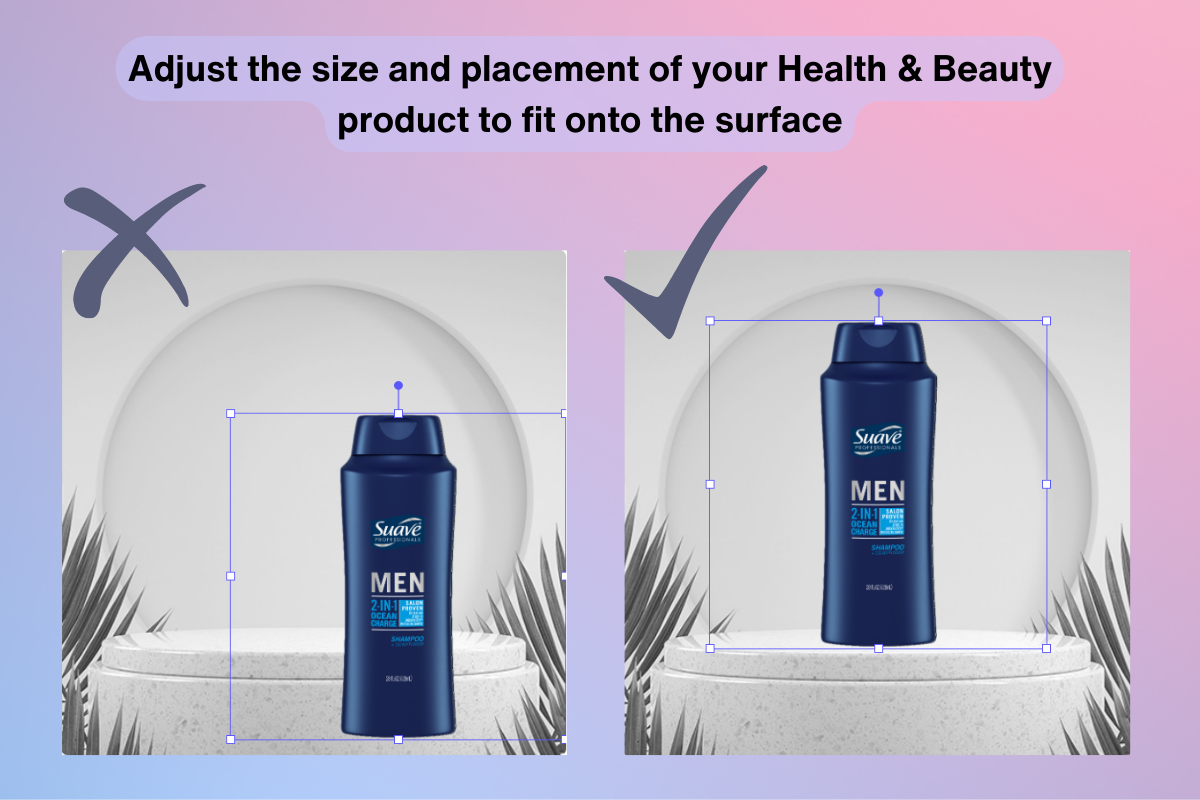
To fit the product naturally into a scene, resize the image and move it around in the scene. Ideally, the entire product image should fit onto the surface, and if it doesn’t, whether as a result of its shape or size, then it would be best to try a different template or camera angle.
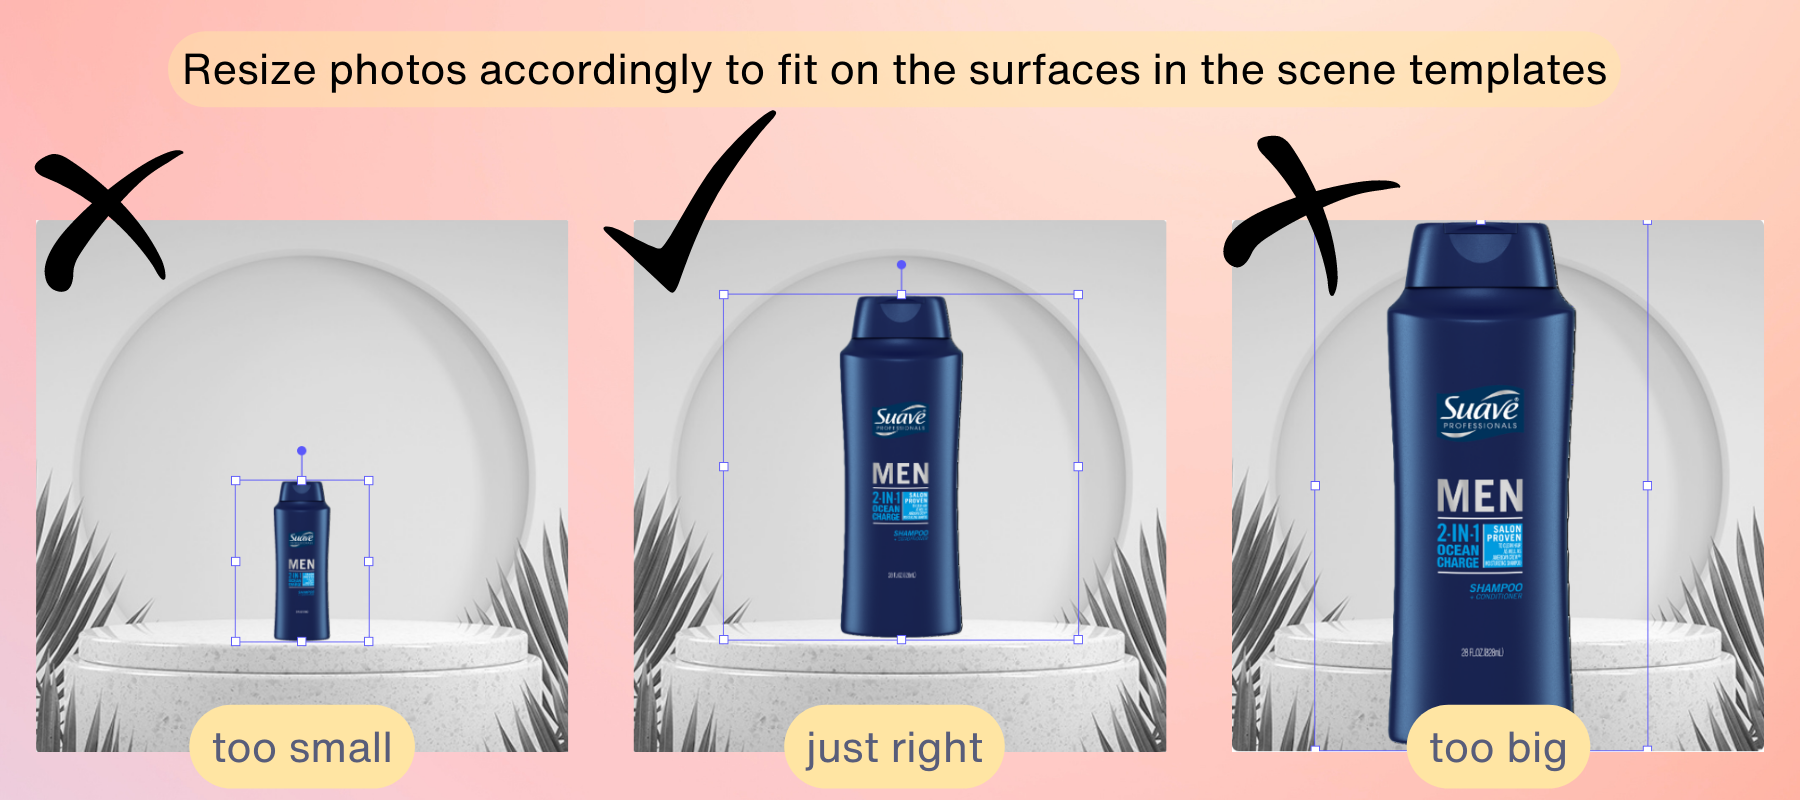
Another tricky aspect of product photography is knowing how to work with padding. In product photography, padding is the empty space around the product. The image to the left is an example of too much padding, making the product look very small in the scene. The example to the right illustrates how using too little padding or making the product image too big may also look unnatural.
💡Pro tip: Each eCommerce platform has its own ratio for padding. Find the ratio of padding for the platform you’re looking to post the product image to and adjust your image on the AI Photoshoot template according to this ratio.
Trial and error is a big part of working with not just AI Photoshoot, but product photography and AI-generated images as a whole. Try different scenes, resize your product image, and move it around the canvas to find a background where your product fits naturally.
Step 4: Write a Prompt
Working with AI Photoshoot text prompts is very similar to using any other AI image generation tool.
While each AI image generator has its own nuances and may be functionally different, some prompt writing tips are more or less universally applicable.
Elements to include in-text prompt:
- Background elements - a park with picnic tables in the background, a cafe with tables and chairs in the background, a playground with slides and swings in the background;
- Time or lighting input - afternoon, morning, sunny weather, cloudy;
- Objects with materials - wooden table, marble countertop, brick wall, stone over;
- Image stylizations - professional photo, noir, impressionist, hyperrealistic, blur.
💡Pro tip: Do not include the product itself in the text prompt. For example, if you have uploaded an image of a shampoo bottle, do not write “shampoo bottle” in the text prompt.
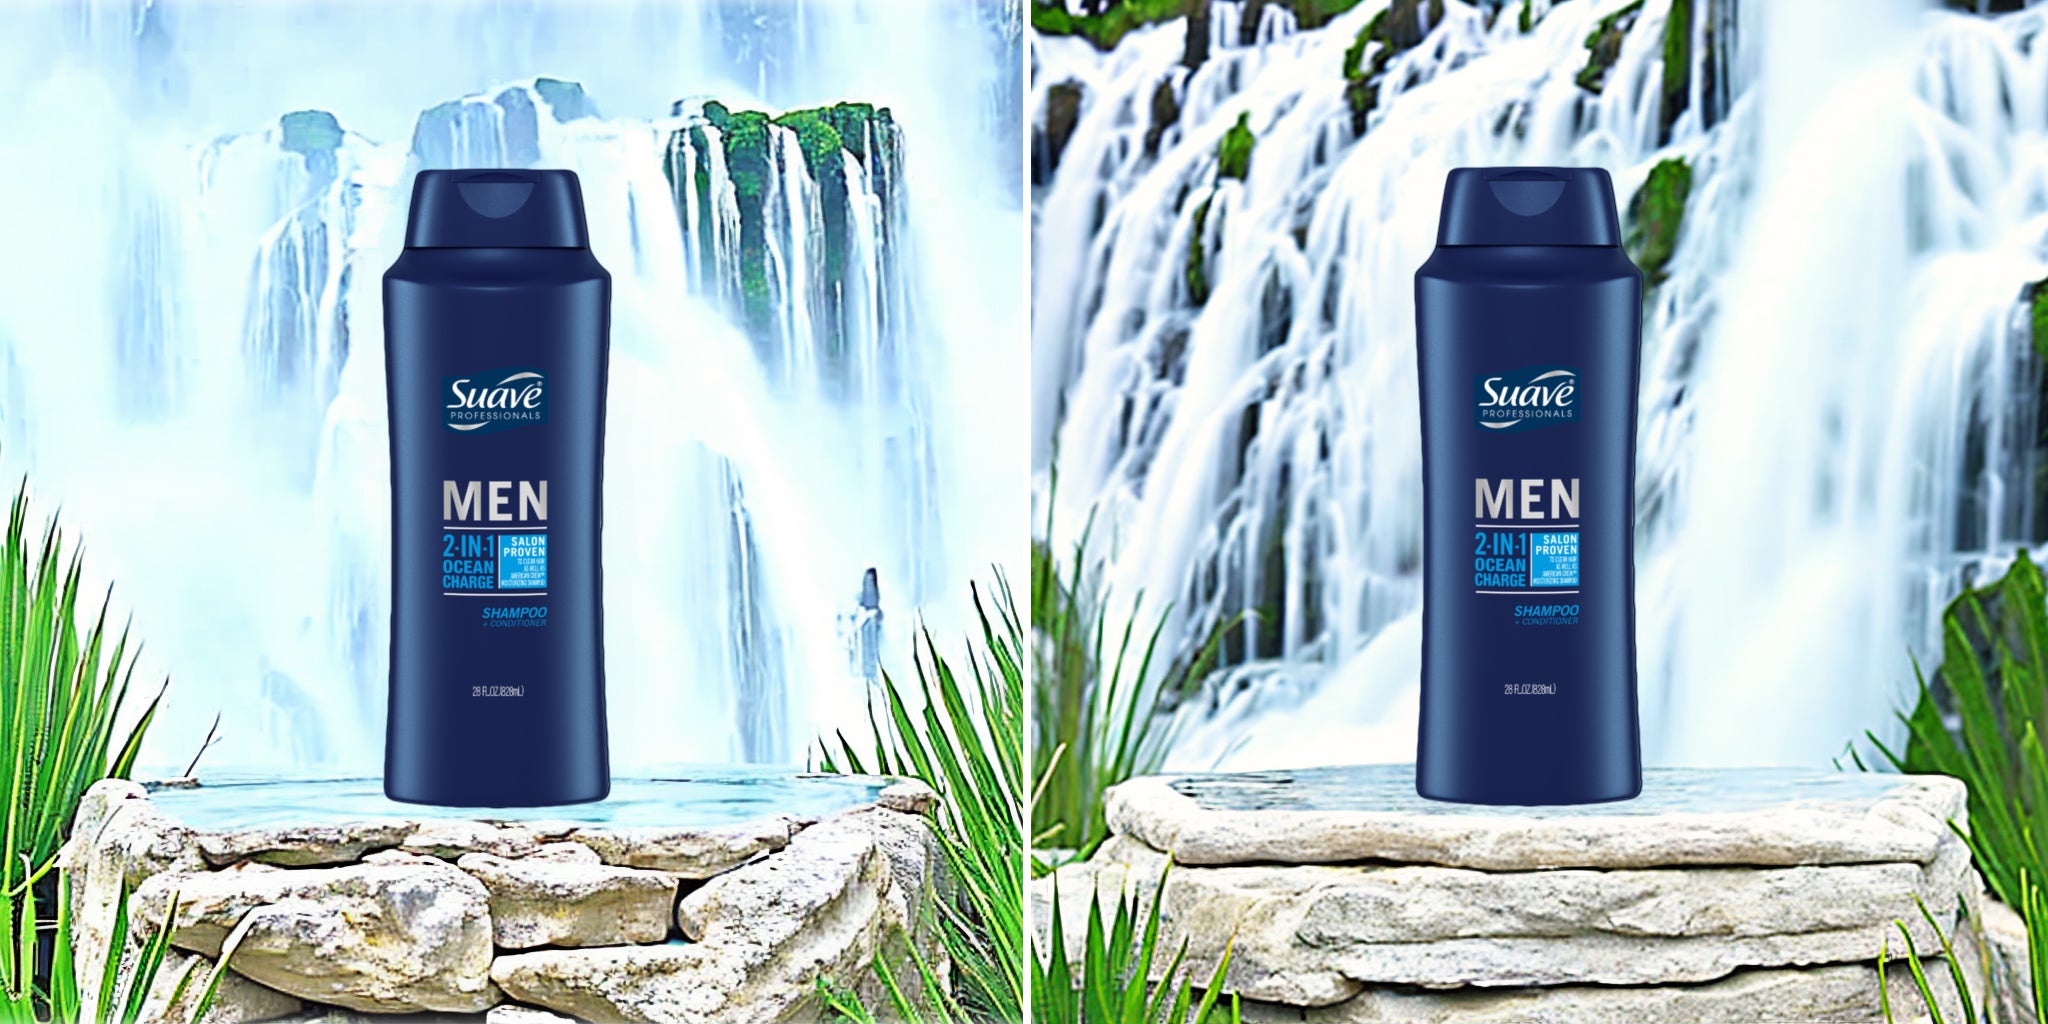
When typing out the text prompt, write it as you would describe the image. Try to keep sentences at least 4-7 words in length. The more descriptive your text input the better results you can expect to find.
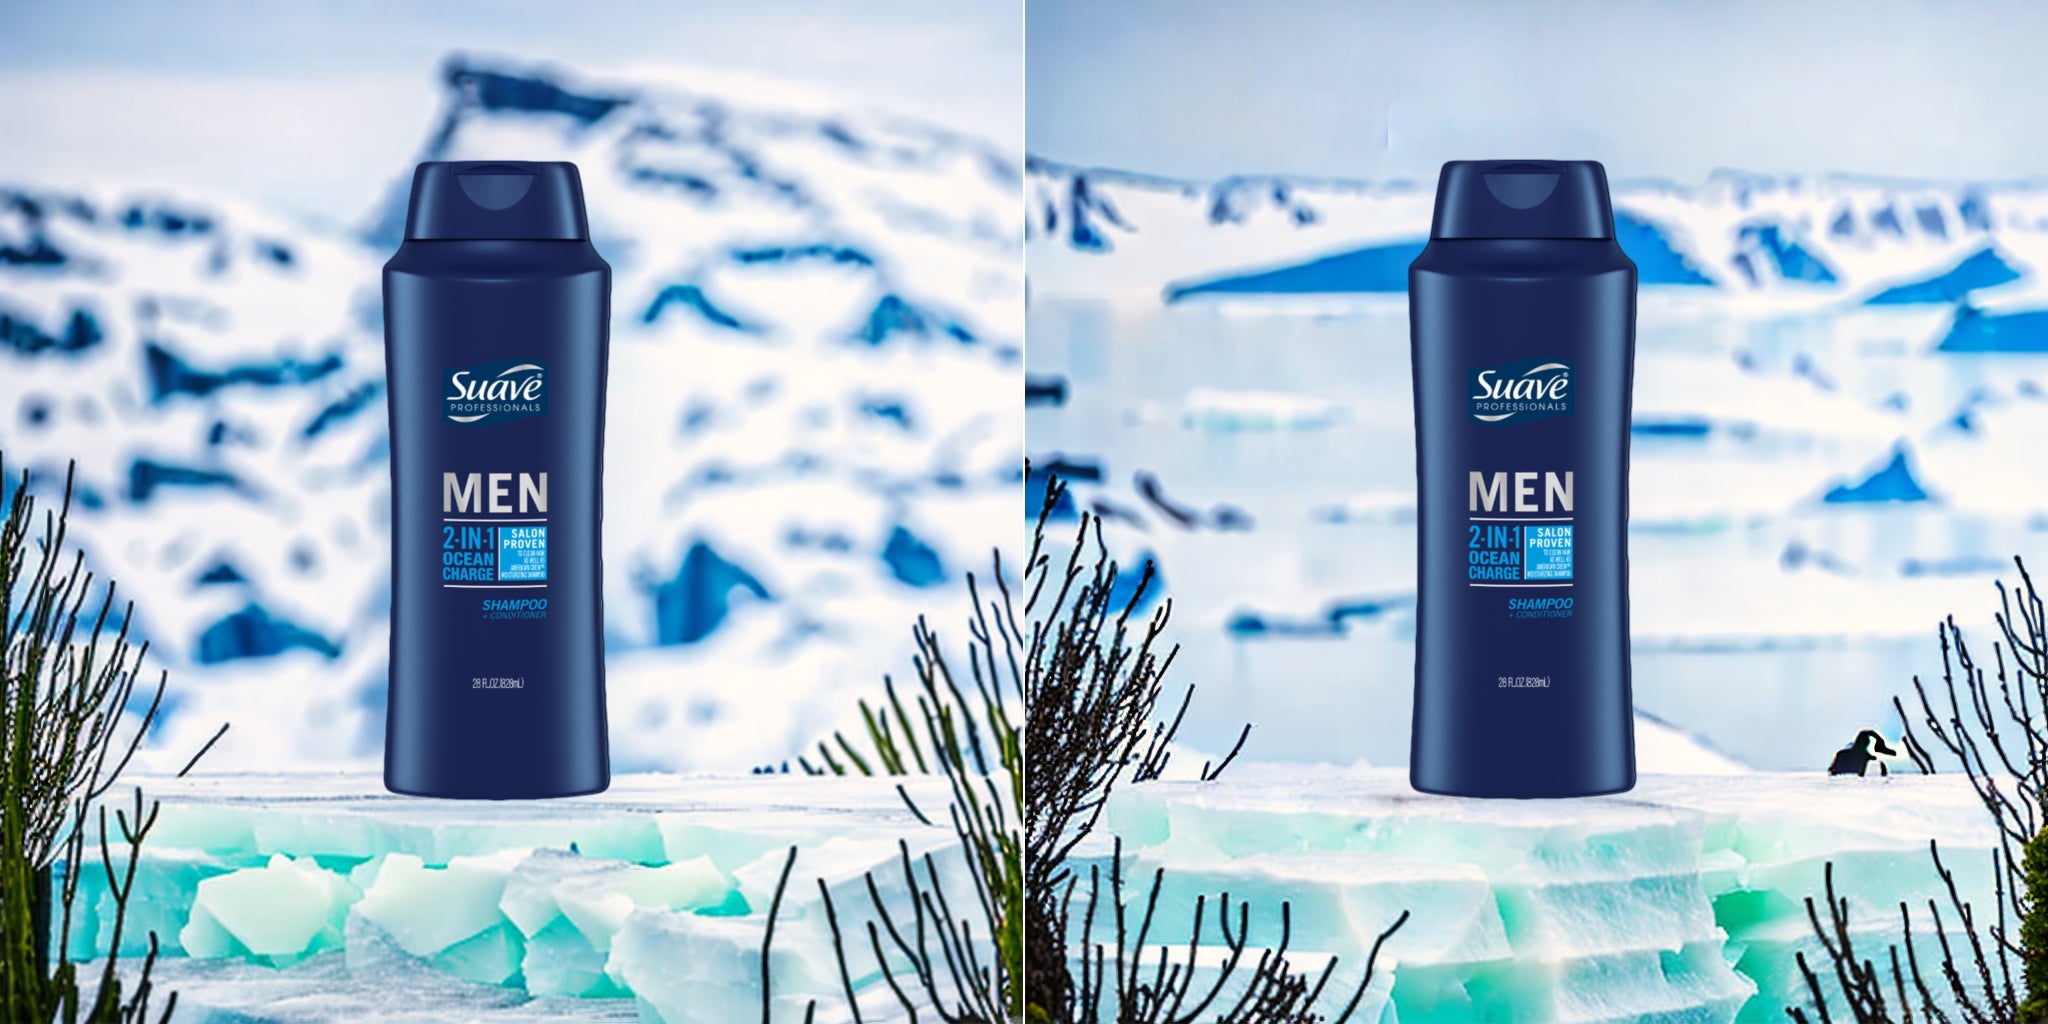
Words and phrases at the beginning of the text prompt will receive more focus when the image is generated. In the examples above, the word “iceberg” replaces the round pedestal of the scene template, followed by the background, which in this case is the Arctic Ocean, and some additional details, such as the glacier and mountains in the distance.
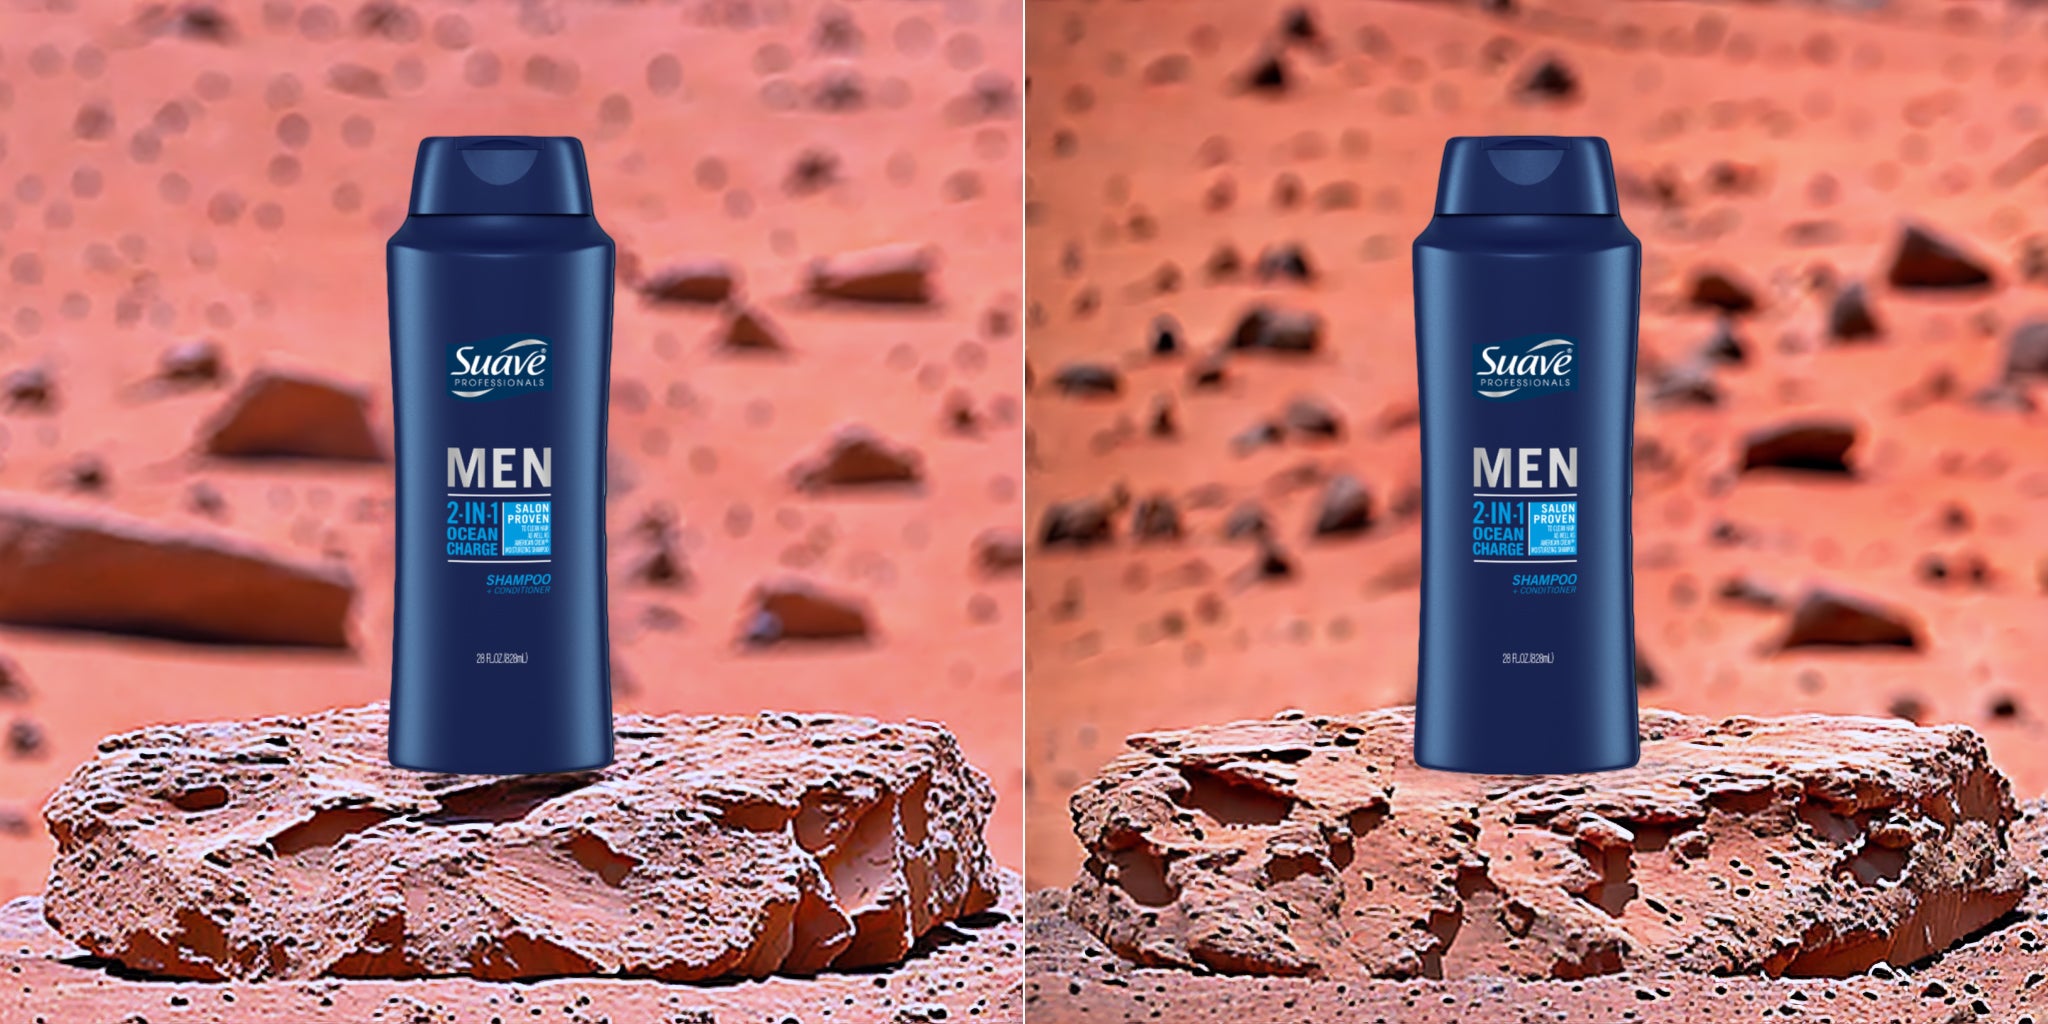
Try placing your product in a setting you usually wouldn’t in the real world, such as the surface of Mars. This allows you to refine your visual content to differentiate yourself from competitors and take up a unique position on the market.
Leaving Text Prompt Empty
You also have the option of leaving the text prompt empty. What this means is that Scene Generation will create something more abstract based on the template.
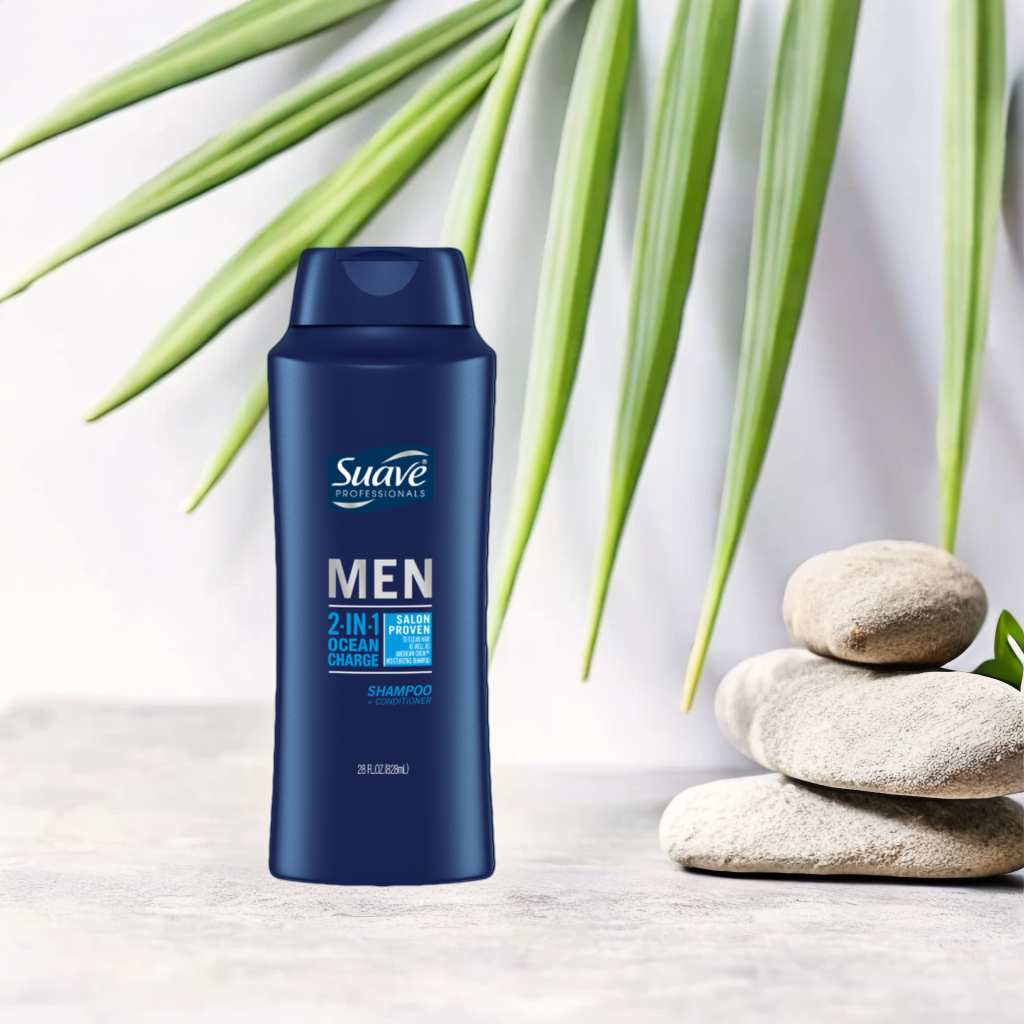
In this example, we did not use any text prompts or additional colors to edit this template. AI Photoshoot itself decided on what the backdrop of this product image should look like. And while it is a more abstract and less detailed background in comparison to the previous ones created above, it can still work great if you’re looking to create a simpler backdrop to focus more attention on the product itself.
Step 5: Pick a Primary Color (Optional)
Though this step is optional since you can also provide color commands in the text prompt, using the color picker can be a very effective way of accentuating and emphasizing elements that will be included in the text prompt.
For example, if you were to make an arctic background for a shampoo bottle, you would pick a light blue color that matches the text prompt's elements. On the other hand, if you were to write a prompt for the AI to generate an image of the Martian surface, a reddish hue would be a better choice.
Step 6: Generate and Download
After adding finishing adjustments to your AI-generated backdrop, you can click the Generate button to render the images. Regardless of the image complexity, it usually takes around 10-15 seconds to generate a batch of 4 backdrops for a single product image.
Choose one of the 4 generated images that match your expectations the most and click on the downward arrow button to download the image. Save it to your device then upload it to your eCommerce platform. It’s really as simple as that.
Benefits of AI Photoshoot for Health and Beauty Product Photography
Here are a few reasons why you should be using AI Photoshoot for your footwear product photography.
Versatility - Claid.ai tools so very versatile when it comes to creating and enhancing user-generated visual content for eCommerce.
All-In-One Package - AI Photoshoot and other software in the Claid.ai family are designed with convenience in mind, providing a wide range of tools and functions for those in need of professional eCommerce images. With everything on a single convenient platform, Claid.ai is a the one-stop-shop for creating, enhancing, and editing product photos.
Fast Results - One of the downsides of high-quality product photography is that it takes a long time to produce. AI Photoshoot significantly cuts down the time it takes to create gorgeous product photos for your eCommerce shop. Product photos can be ready for eCommerce platforms within minutes with the help of the powerful AI that makes AI Photoshoot possible.
Why High-Quality Visuals Matter for Health and Beauty
In eCommerce, product visuals do the talking. What this means is that the better your product photos are, the higher chance you have of enticing customers into adding your health and beauty products to their carts.
Unique Brand Perception - In the eCommerce industry competition is very high, so brands are always looking for a way to stand out. Using high-quality and creative product photos can give you the edge over your competitors to stand out and take up a unique position on the market.
More Memorable Content - Customers need some sort of visuals to associate their your brand to. By providing them with consistent visual content, you can solidify your brand presence on the eCommerce market, making it more memorable.
Fewer Words Needed - Science has shown, that the human eye is capable of processing images thousands of times faster than text. This is why it's very important to utilize visual content in eCommerce, as a large number of the sales can be attributed to buyers liking what they see, not what they've read. Use product images to tell more about your product, but using fewer words.
More Visual Enhancements
For more AI-based visual enhancements, check out our products Claid.ai and Let’s Enhance.

Claid.ai
May 18, 2023