Tech
How to Resize Product Photos with AI | Generative Resize Guide


AI Photoshoot has been expanded to include additional image editing tools and features: Generative Resize. Render product images then resize them to any resolution or aspect ratio you need in a matter of seconds.
Takeaways
- Generative Resize lets you easily resize AI product photos to any resolution or aspect ratio you want;
- To use it, first upload a product photo and generate a scene in AI Photoshoot;
- You can resize pictures vertically and horizontally with realistic expanded backgrounds;
- Generative Resize makes it fast and simple to create multiple resized product shots for any platform or use case, from Instagram stories to Shopify listings.
How to Change the Resolution of Product Images with AI Photoshoot
In this step-by-step guide to Generative Resize, we’ll demonstrate how to use Generative Resize from start to finish.
Step 1. Logging in or Registering
As always, the first step is to either register or log into the Claid.ai account.
Once successfully logged in, click on the Dashboard button which will take you to the Claid.ai suite of product image editing and enhancement tools.
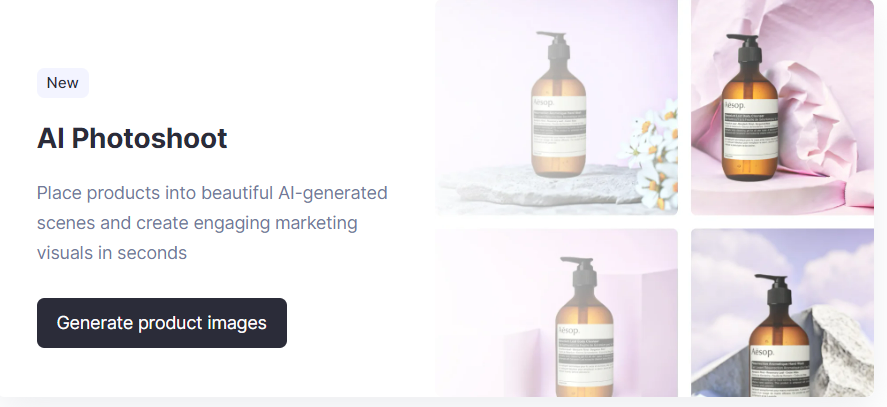
Click on the Generate product images button which will take you to AI Photoshoot.
Step 2: Upload the Image
Upload the image by clicking in the general area below. Ensure that the image file is either in JPG, PNG, or HEIC format.
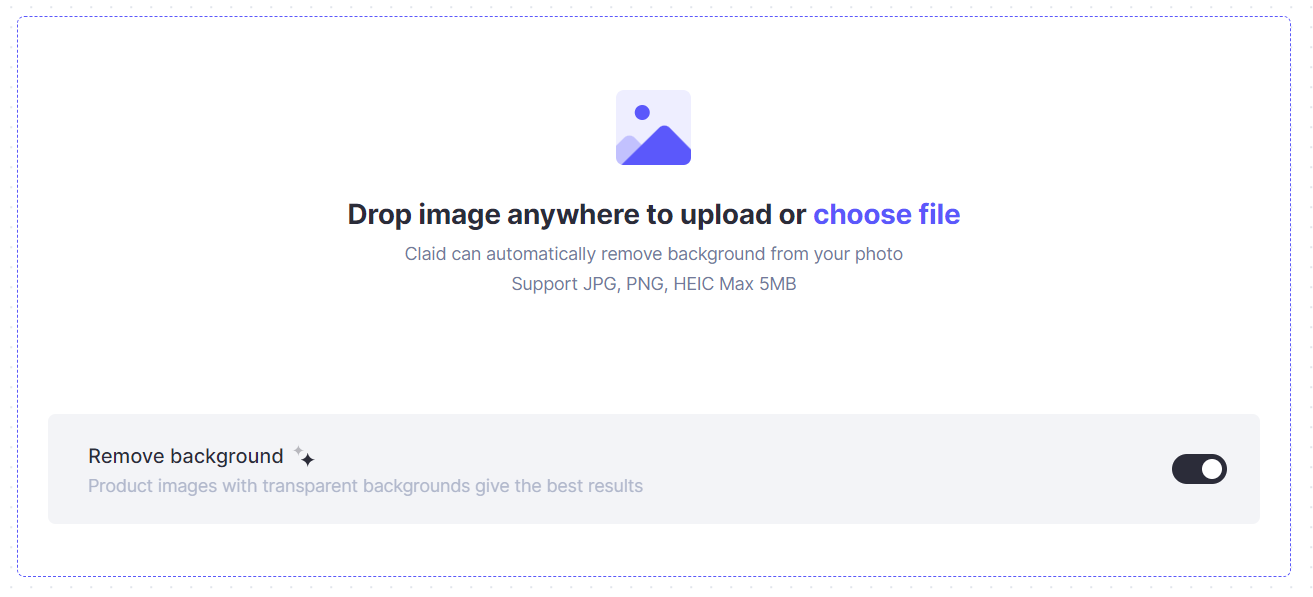
If you’re uploading a transparent PNG, then you can turn off the Remove background option, but in all other cases, it is highly recommended to leave this option on as it will remove the original background of the product photo.
Once the image finishes uploading and its background is removed, you will be given the option to resize and adjust the product to the canvas.
Step 3: Choose a Background Template and Adjust the Product Image
Once the image is uploaded, choose any scenes from the left panel and adjust the product to fit into the backdrop.
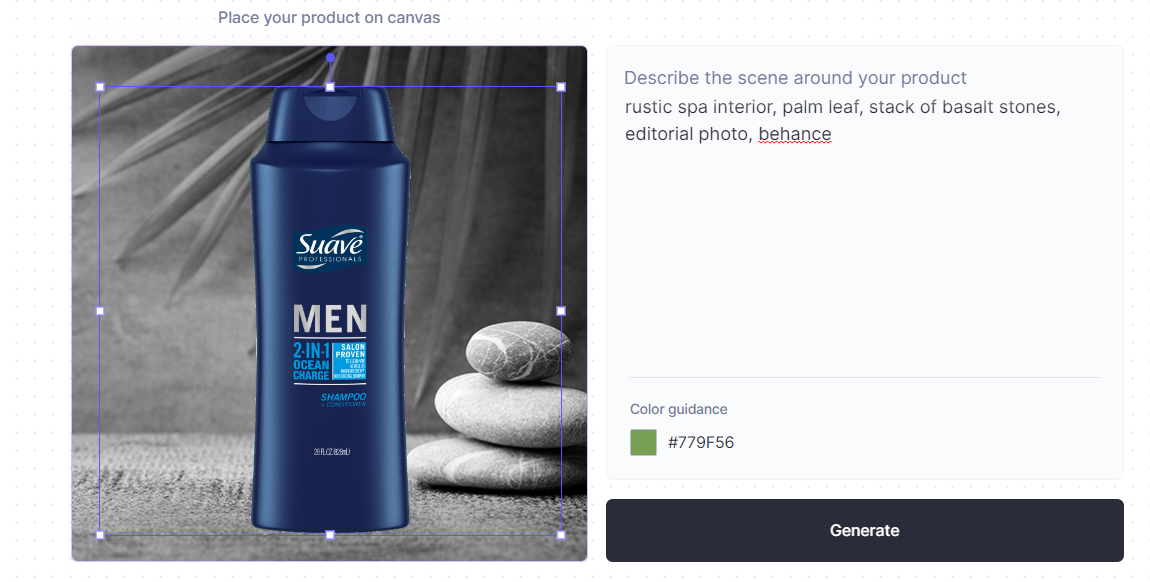
Ideally, you want the image to fit naturally into the background without looking too unrealistic in size or unaligned with the surface area of the template.
Step 4: Write a Text Prompt and Generate
Next, you’re going to need a keyboard and your imagination to write a fitting text prompt for what you wish to see AI Photoshoot render in the background.
The prompt writing in AI Photoshoot works similarly to any other AI image generator. The more details you include, the closer the results will be to what you’re looking for. Use additional descriptors, such as “editorial photo” or “bokeh blur” to make the background more optimized for a product image.
Once all the inputs have been set, you're ready to render.
The images will be saved at the bottom of the dashboard along with all other previously generated images on AI Photoshoot.
Step 5: Change the Resolution with Generative Resize
Instead of clicking on the downwards arrow button to download the image, click on the Generative Resize button next to it.
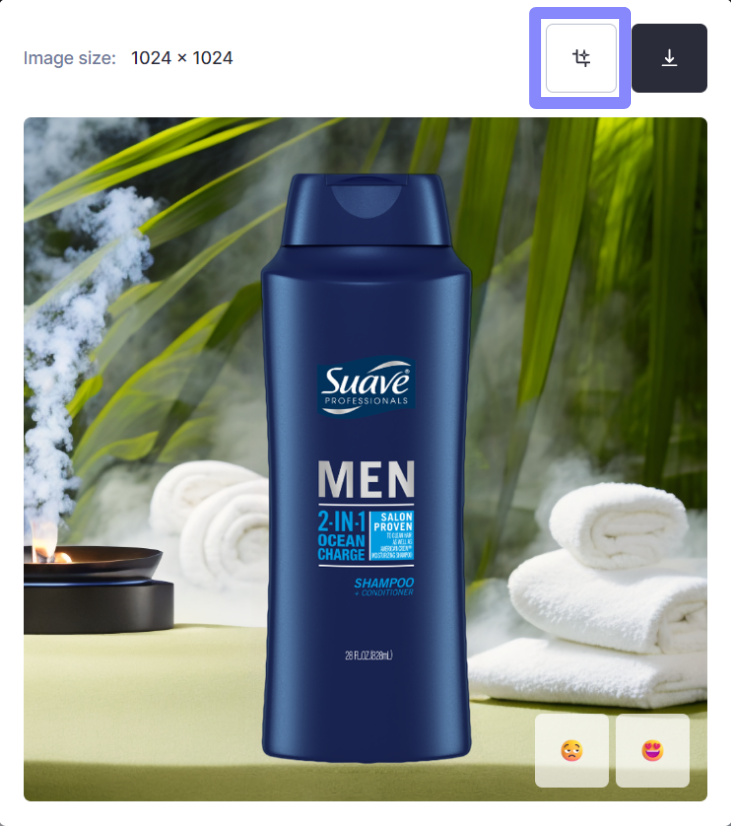
This opens up the Generative Resize panel where you will see several different options for changing the resolution of the product image and rendering an expansion to the background.
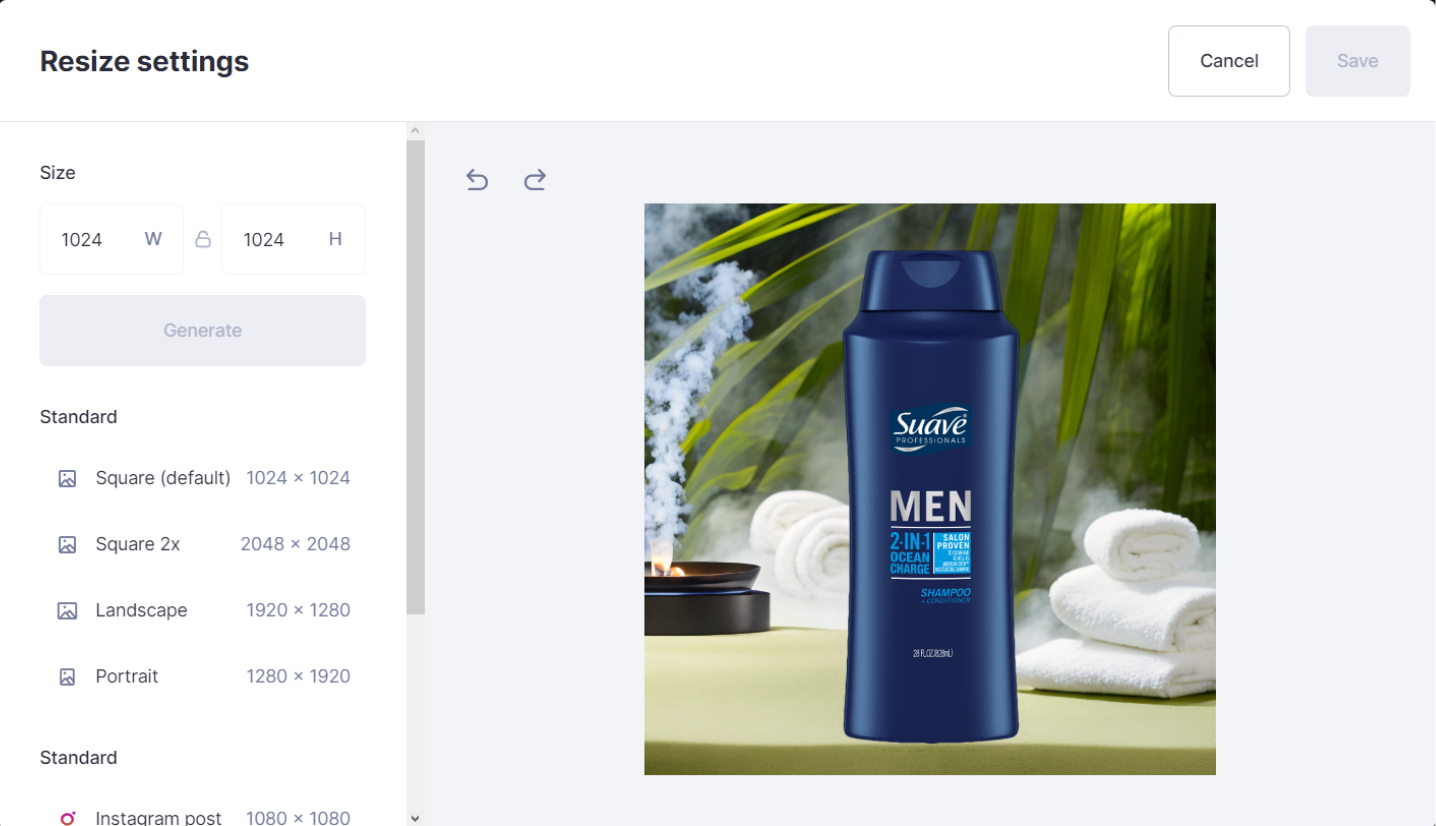
There are different ways that users can go about changing the resolution of their image. First, there’s manually inputting a new resolution in the topmost panel labeled Size.
This allows you to tailor the resolution to the exact parameters that you need (while maintaining an aspect ratio of 16:9). Alternatively, you can choose from many other presets that are available below.
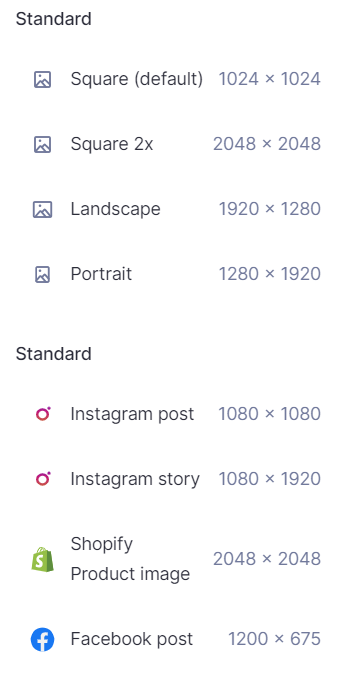
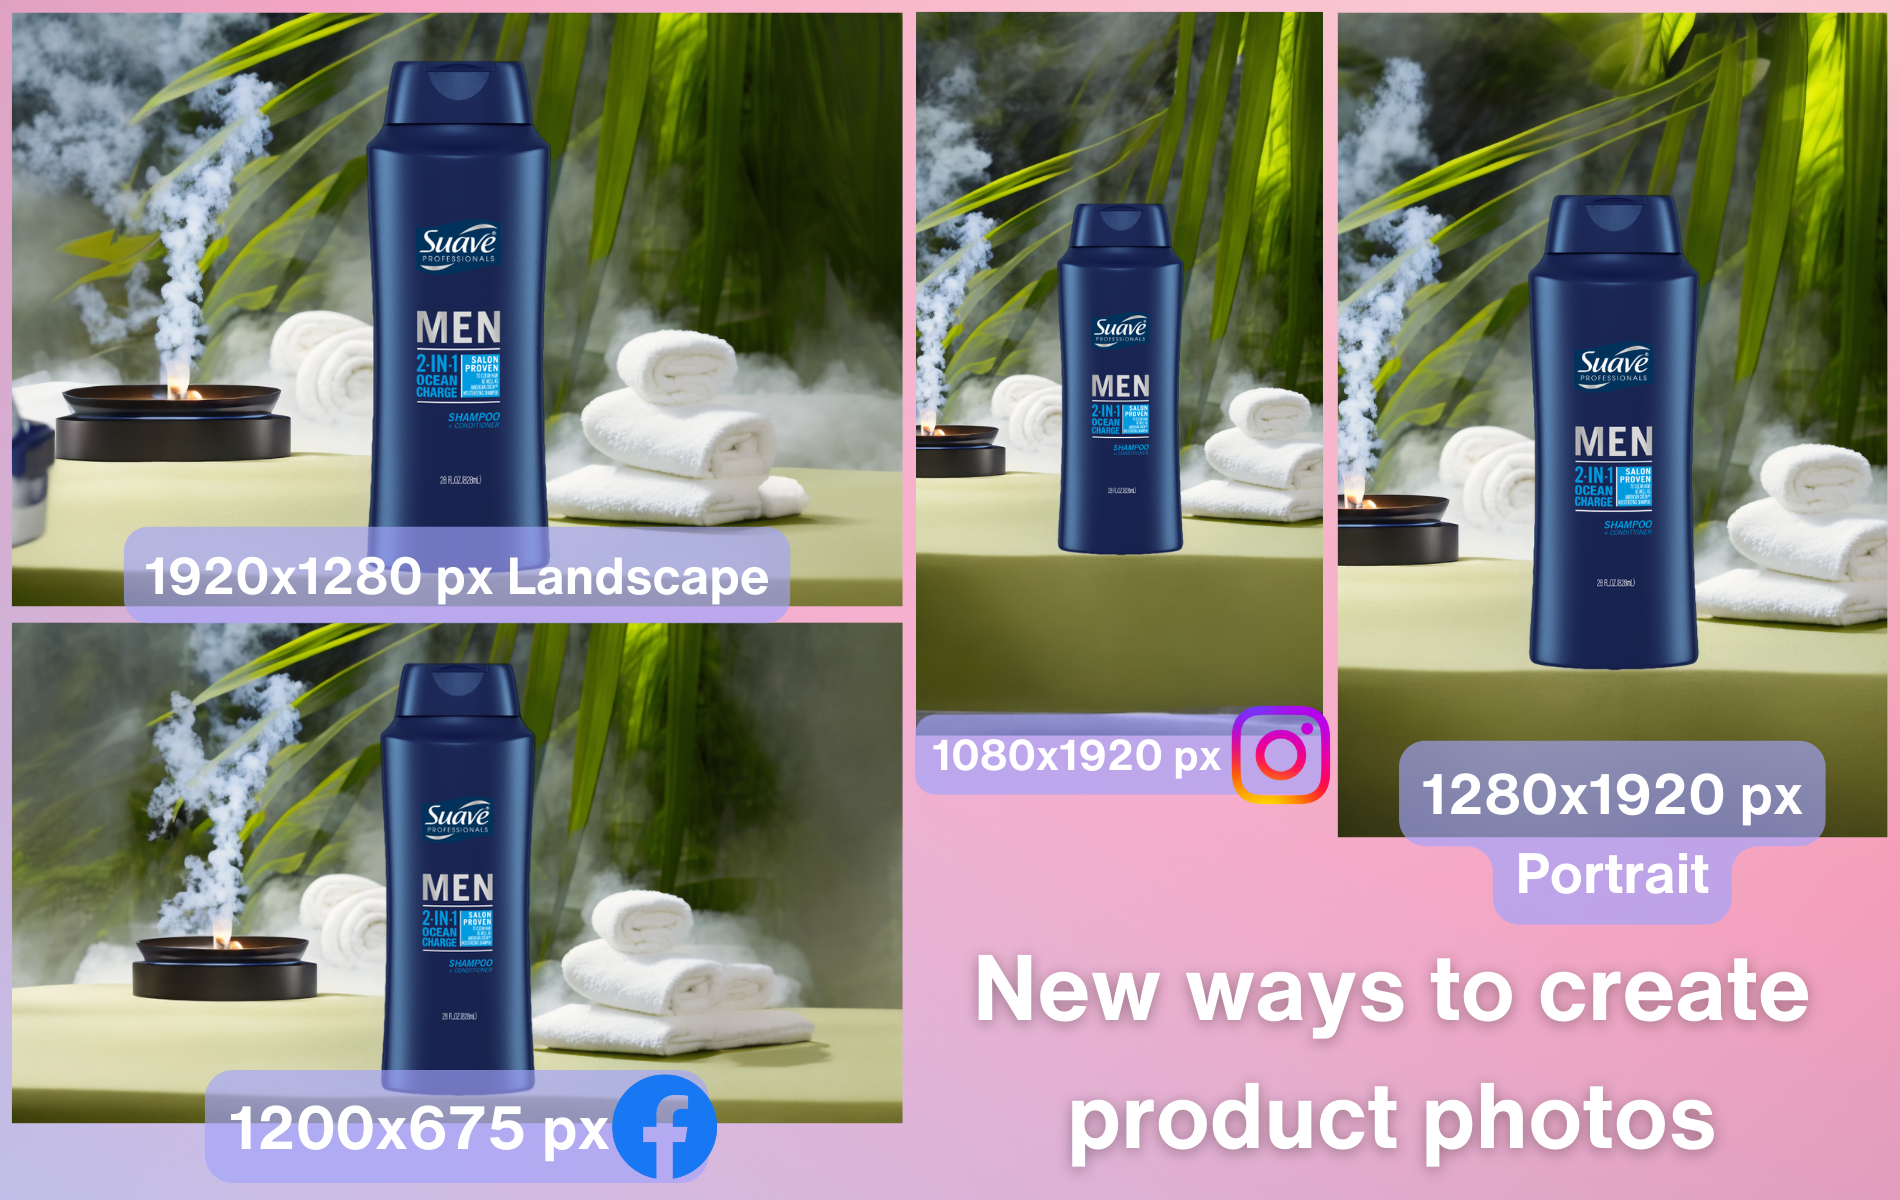
You can choose to update the resolution to suit a specific image orientation, such as landscape or portrait, or even upscale the image 2x the original size by selecting the Square 2x option.
Below that you can also select from other preset options that have been automatically optimized for specific use cases, such as posting on Facebook, as a story on Instagram, or as a Shopify product image, each with its own unique resolution sizes set to the platforms’ standard guidelines.
Once the new resolution has been selected, click Generate and your product image will be resized with additional background visuals being rendered to fill the new size of the image.
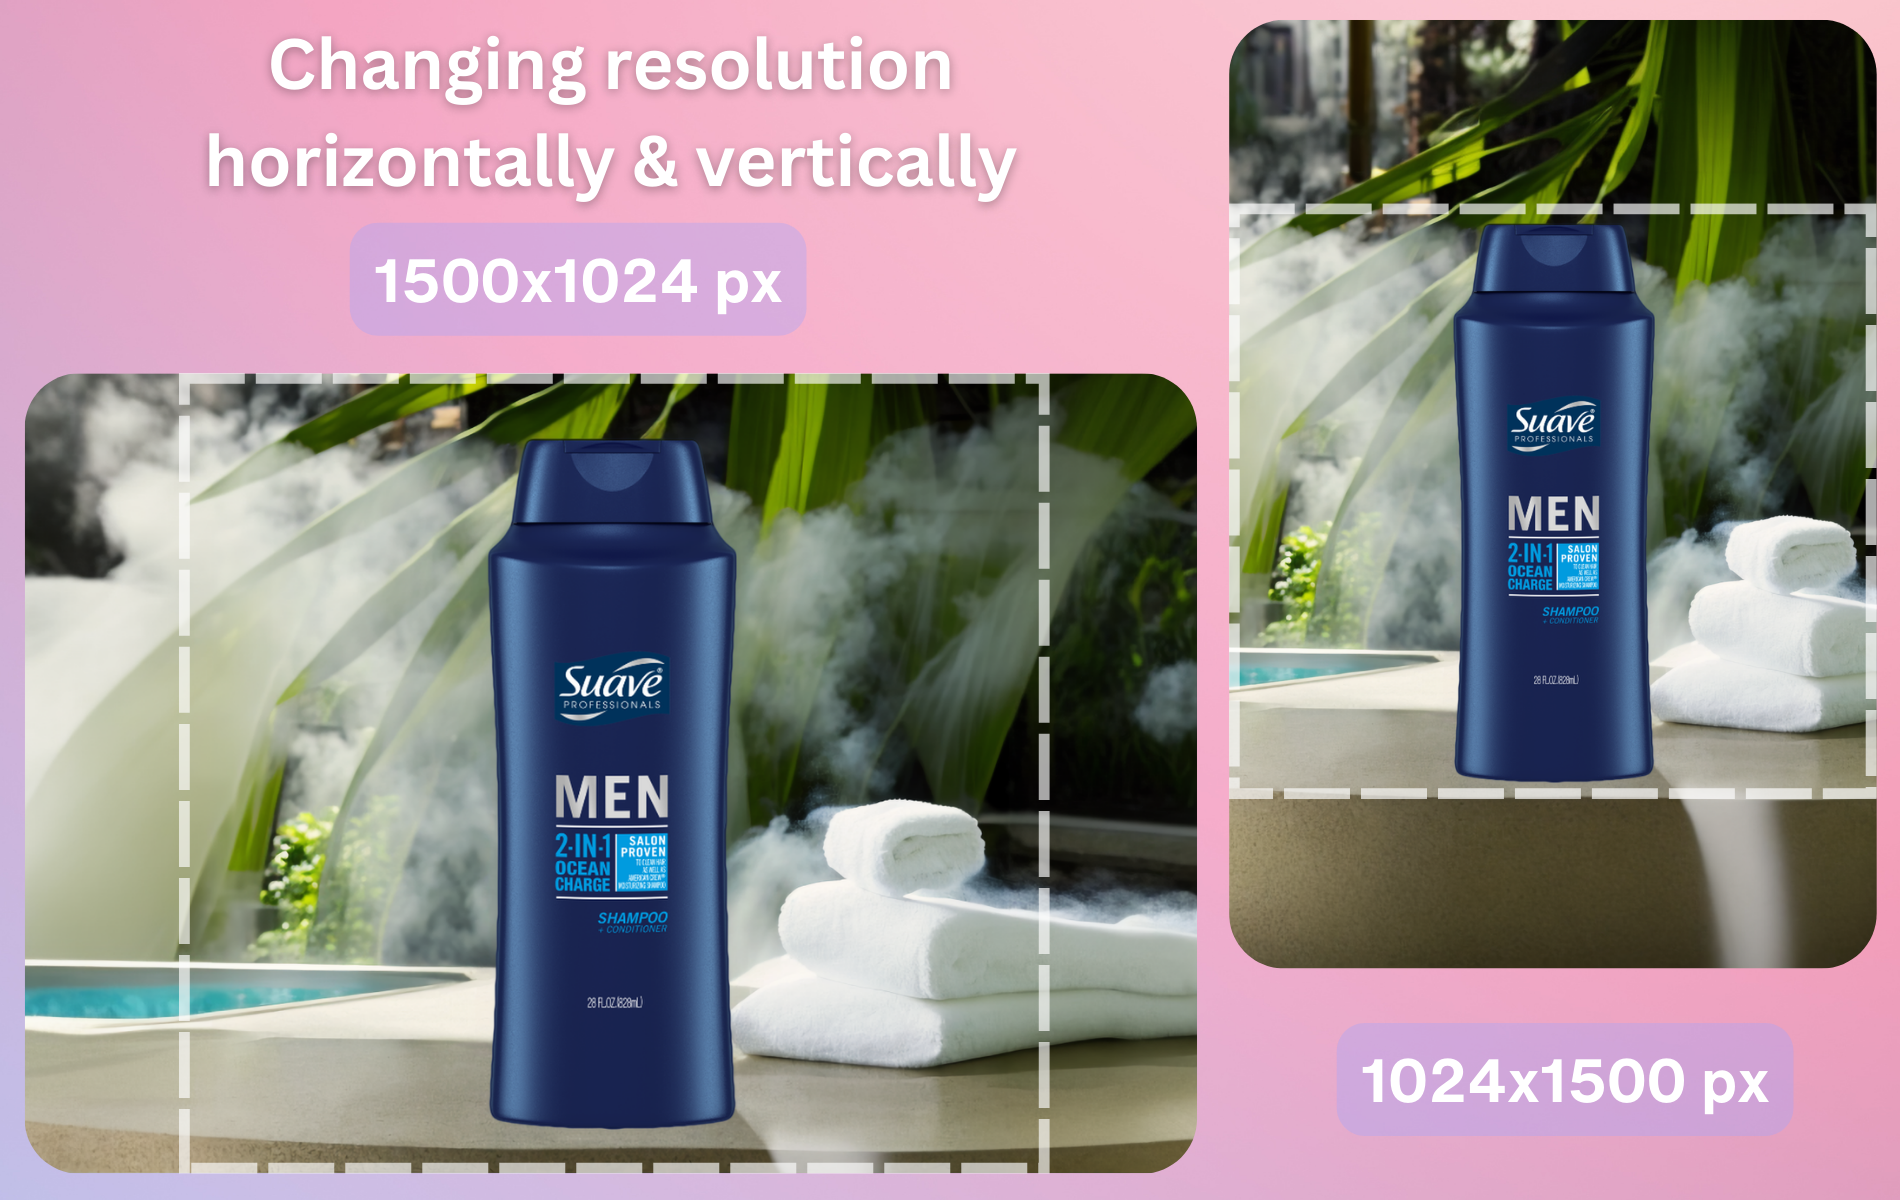
Users can choose to increase the resolution both horizontally and vertically, with the onboard AI automatically rendering visuals that naturally expand the background.
With the expanded product image rendered, users can now choose to either download the image by clicking on the Download button or Save the image to the AI Photoshoot dashboard for later use.
How Generative Resize Helps eCommerce Vendors and Managers
One of the biggest challenges for product managers and eCommerce vendors is working with visual content. Even putting the challenge of producing and maintaining high levels of visual consistency, the matter of adapting these product images to different platforms is a challenge in and of itself.
Versatile Visual Content
Different platforms have significantly varying product image guidelines, so a 1 by 1 square product image may work on one platform, but not another. For vendors, this means cropping the image, which may not always be an option, as it risks cutting out portions of the product itself.
With Generative Resize, product managers and vendors can easily change the resolution and the orientation of their visual content and adapt it to any platform or marketplace. In practice, this means doing more with less, since no additional image editing or product photoshoots will be required.
Easy and Fast
Editing large batches of product images to suit a variety of eCommerce platform guidelines requires knowledge and experience in working with photo editing software. This can be both time and resource-consuming for most vendors who may not have the opportunity to dedicate either to editing their product photos.
Generative Resize is another major addition to the suit of product photo creating, enhancement, and editing tools that Claid.ai provides.
Working with Claid.ai and its many tools and features is easy and requires little to no experience in image editing.
Tips for Working with Generative Resize
Here are some tips on how to work with Generative Resize and make use of all its features.
Trial and Experimentation
While Generative Resize can effectively expand product photo backgrounds and render visuals for them, the technology and features are relatively new. This means you may not get the best results on your first try.
But we highly recommend you experiment a few times with Generative Resize. Even if you don’t get the best results your first try, you very well might on your second.
There May Be Artifacts
Since the technology is new, you may find some artifacts in the expanded background. This is a very common occurrence for newly introduced AI-based tools, as the AI model of Generative Resize improves itself the more it is used.
So, don’t be surprised when you find some artifacts and know that the more Generative Resize is used, the better it will get with time.
Types of Images to Use
In order for you to use the Generative Resize function and AI Photoshoot as a whole, the image you upload must not have low contrast or visual distortion. This will make it hard for AI Photoshoot to remove the pre-existing background and render a new backdrop around it.
In addition rendering an expansion to a background using AI is a very demanding function and requires a lot of computing to execute. The more high-quality product images you upload, the easier it will be for Generative Resize to extend the background and get you the results you’re expecting.
Start Resizing Product Photos with AI
With Generative Resize, available only on Claid.ai, resizing, cropping, and changing image resolution by hand is no longer a challenge. Register on claid.ai/signup to get started with Generative Resize.
Need this at scale?
Process thousands of images via API, or let our team handle it for you.


Claid.ai
December 24, 2023