Tech
Bring AI image editing into your daily tools with Claid x Zapier

Claid x Zapier makes your photo editing completely seamless. Once set up, your images are automatically enhanced and ready to use across your favorite apps – from Shopify to Google Drive and beyond.
Want to know how it works? Let’s dive in.
Simplify your work with automated image editing
Here’s what you get when you combine Claid and Zapier:
- Quick edits, big time savings: Imagine uploading a photo to cloud drive or online shop and in seconds, it's automatically improved. This happens in the background, and you can do it for loads of images at once.
- Set up in minutes: The setup is easy – you just drag and drop things in the editor. You don't need to know all the tech stuff to make this work. We'll show you how.
- Works with what you use: This setup works with over 6,000 tools, including ones you probably use a lot like Shopify, Google Drive, and Slack.
Claid x Zapier does all the image handling for you, so you have more time for other things.
Our best image tools, your workflow
With Claid and Zapier, you get these handy tools to make your product photos look great:
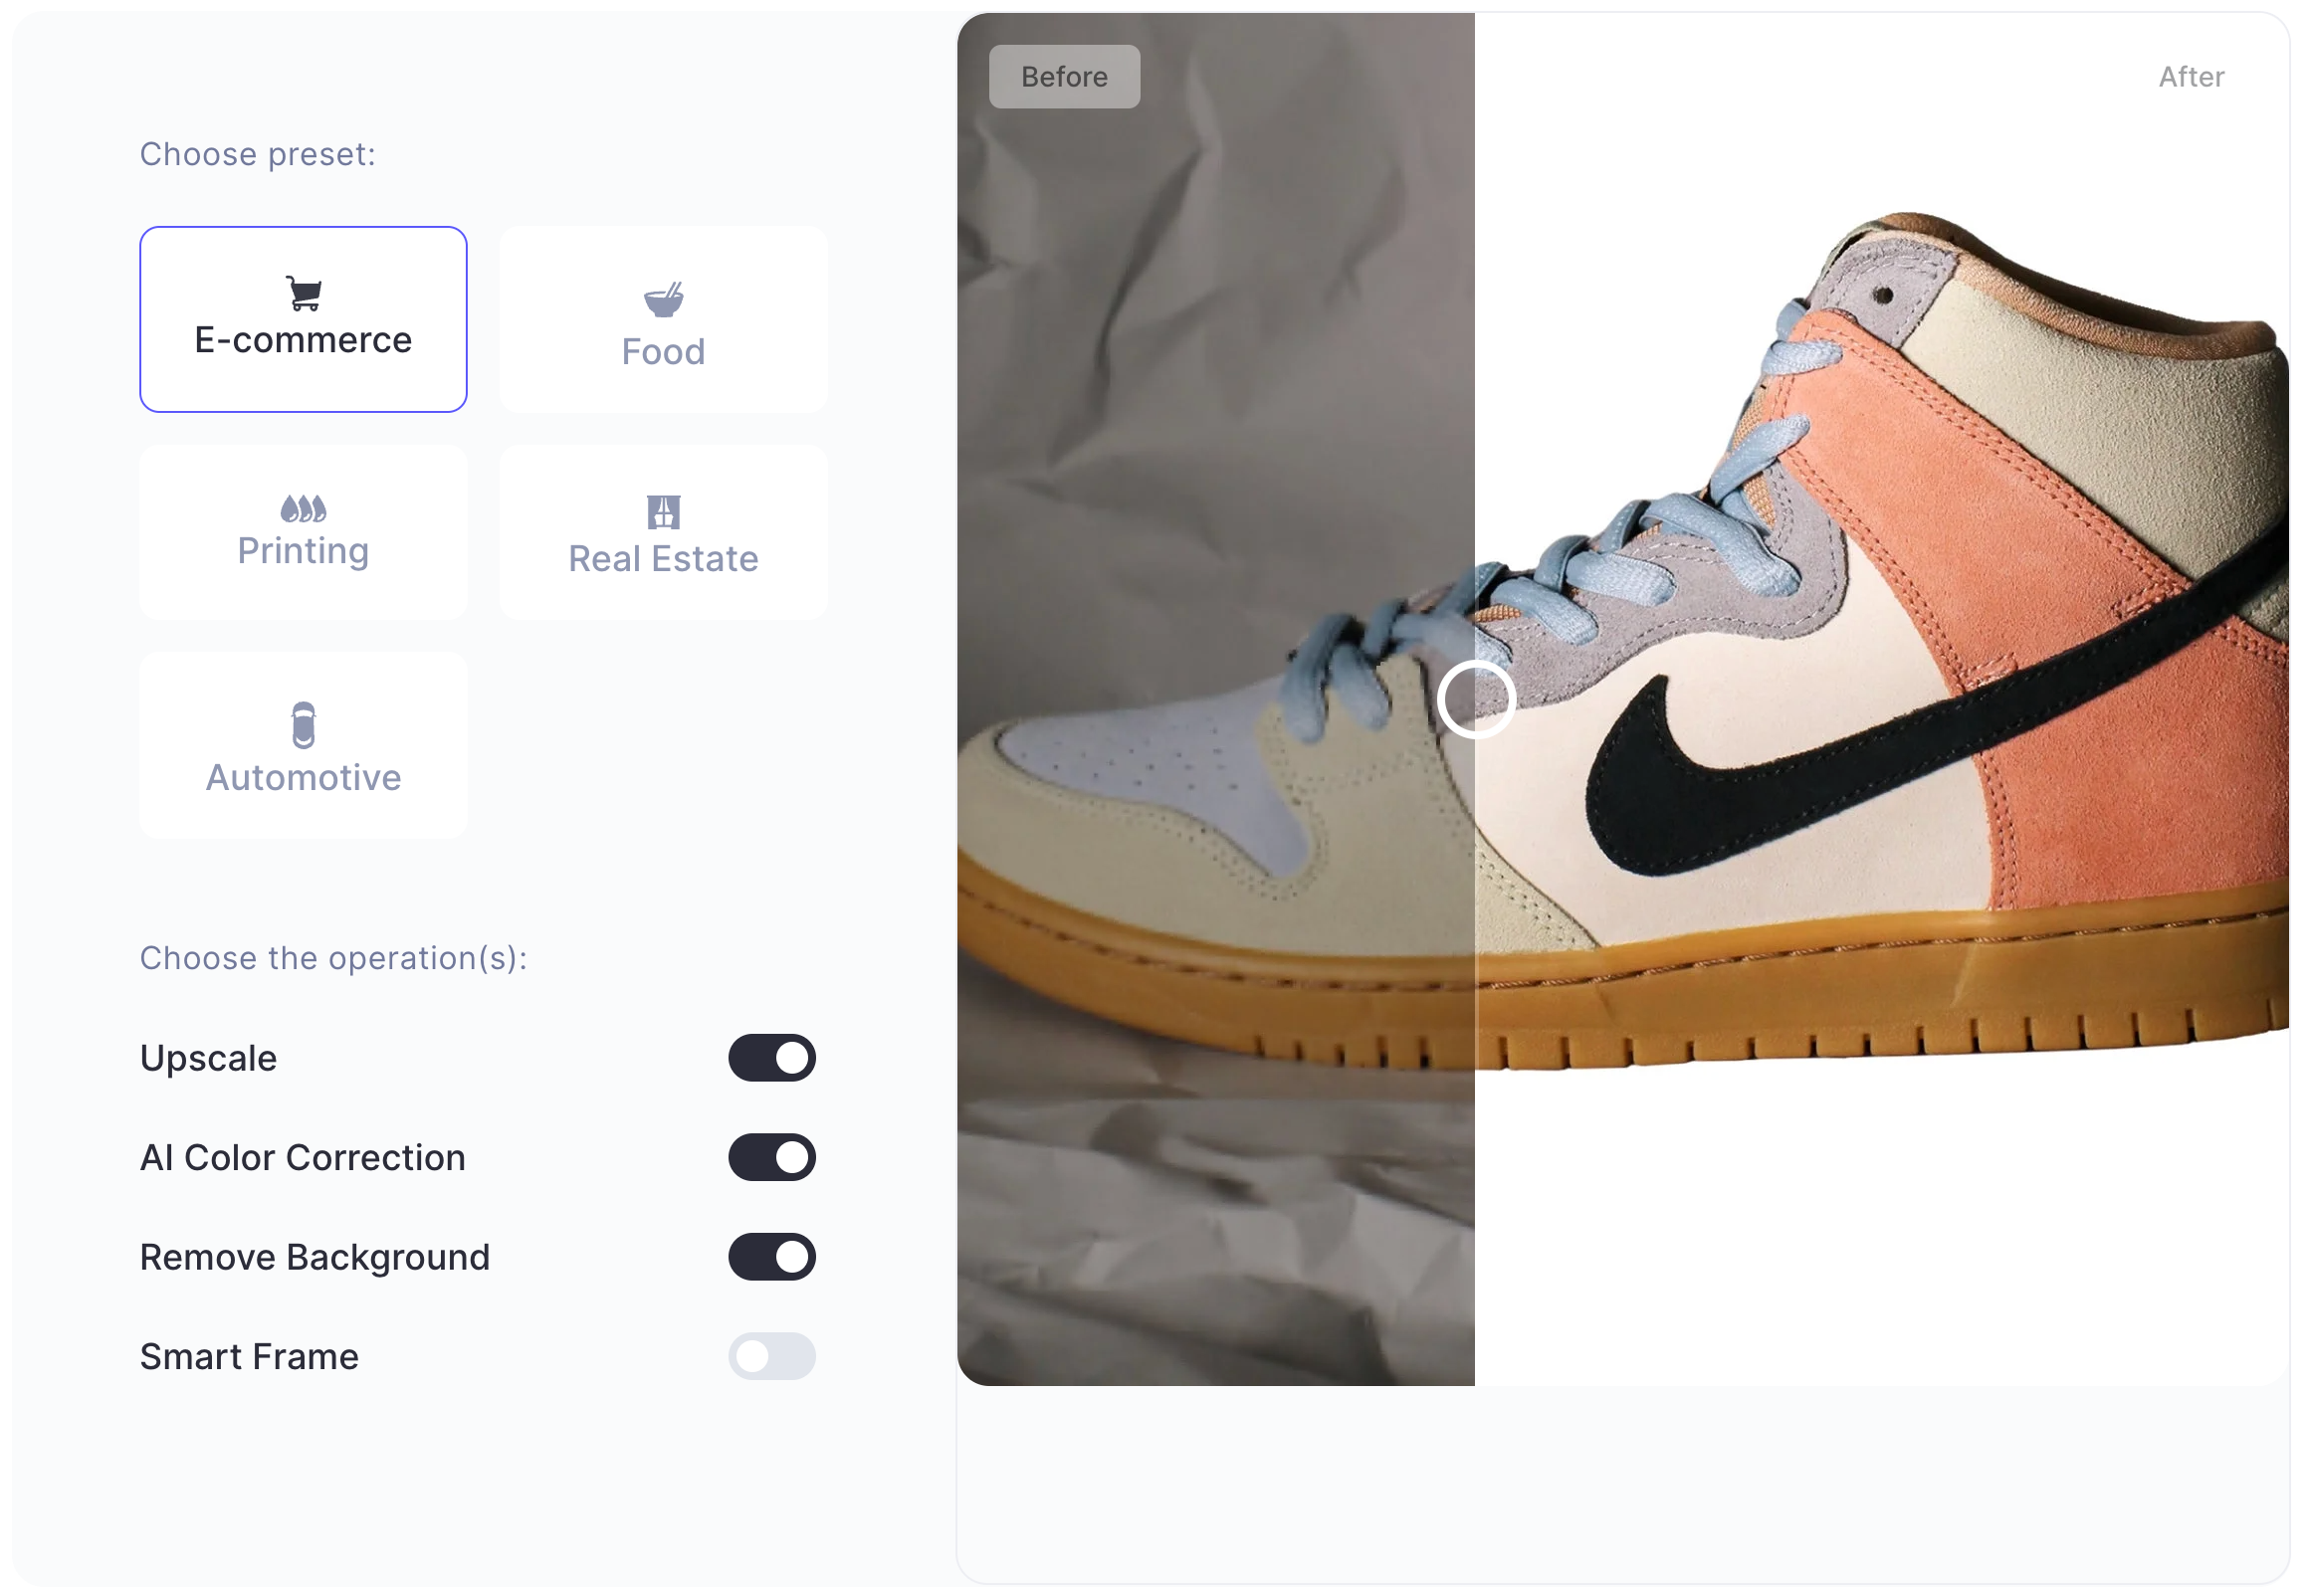
- Upscale: Boost the resolution of your images for a clearer, more defined look.
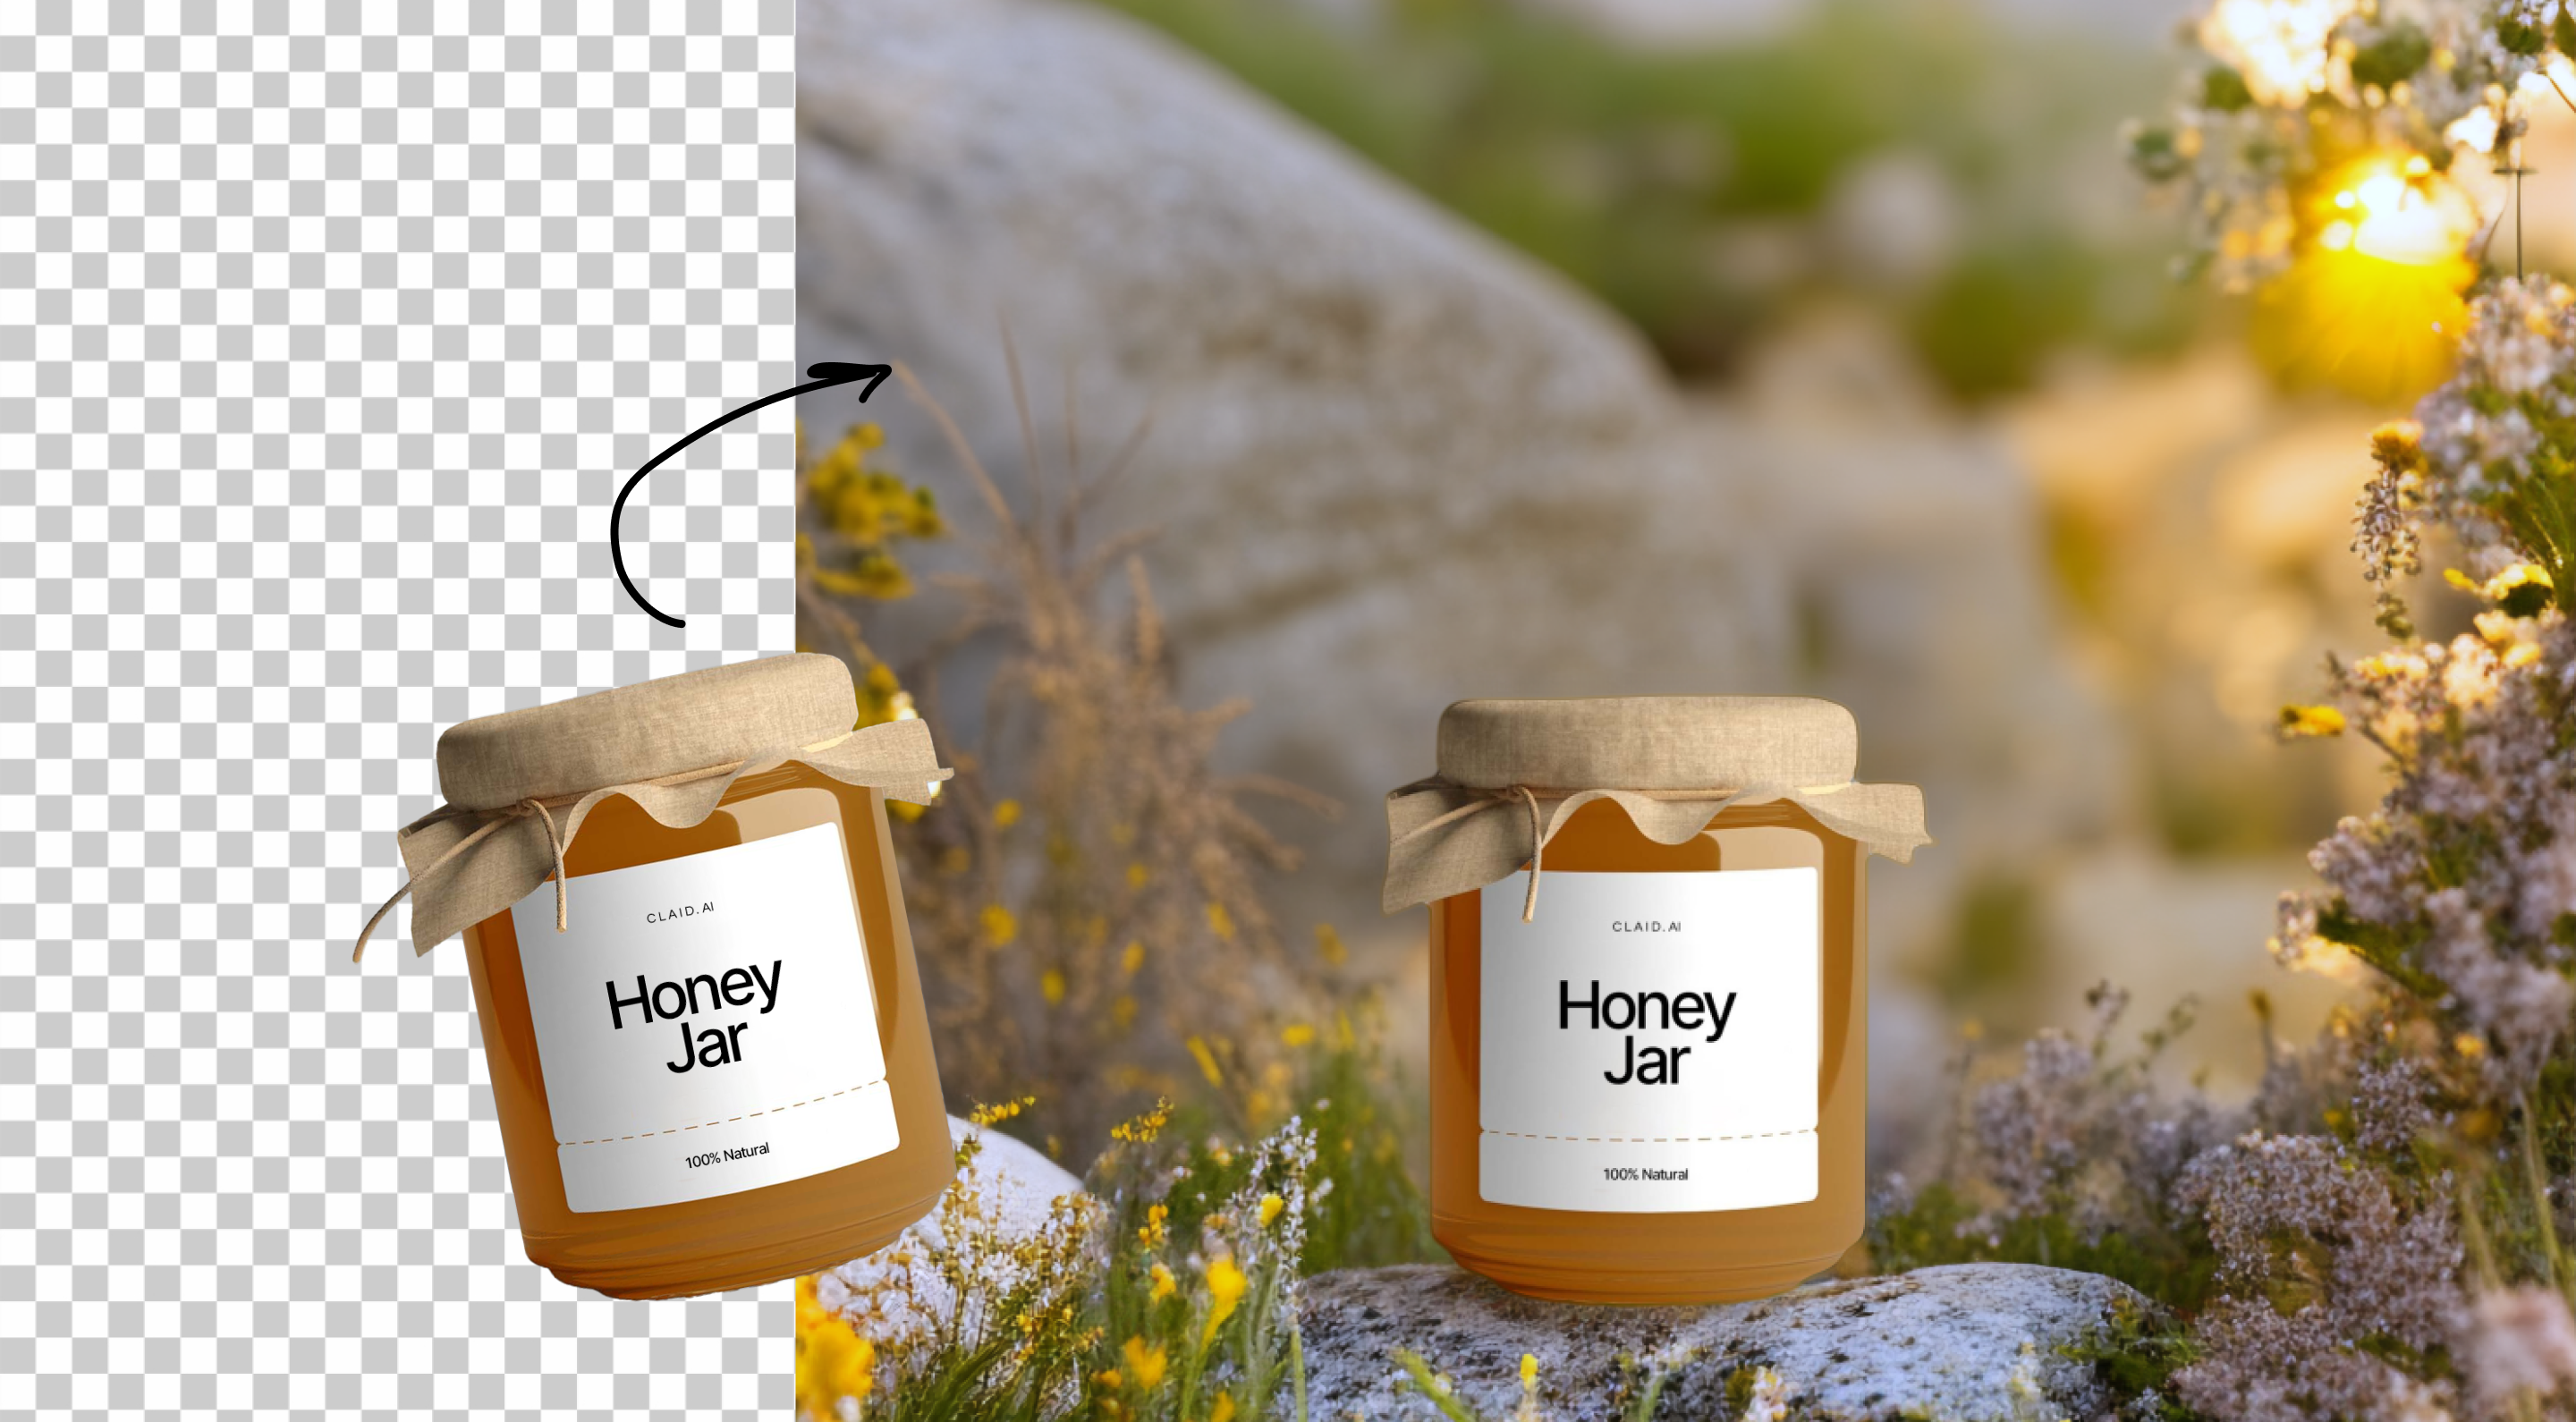
- Remove backgrounds: Clear away busy backgrounds, making your products stand out for a cleaner online store look.
- Correct color and lighting: Apply smart HDR to ensure your photos are always warm and appealing.

- Generate background (AI Photoshoot): Create beautiful scenes around your products. It’s like a full-fledged photoshoot, but way easier and faster.

Plus, you can mix these features in one go, streamlining your editing process completely.
Start with ready-to-use templates
Getting Claid and Zapier working together is easy, especially if you use templates. Here's how you can do it:
- Pick a template: Start with templates that you can find on the Claid Zapier page. These templates are pre-configured for common tasks, saving you time right from the start.
- Customize it (optional): While templates have everything set up, you can still make changes. This could be choosing a different Claid operation or adding an extra step.
- Connect your apps: Authorize Claid and any other tools you're using in Zapier. Make sure to check all the steps before you set everything live.
Pro tip: Adjust as you go. As you use the automation more, you might want to adjust some settings or try making your own custom zaps.
Check out Claid x Zapier in real use
Before we get into more examples, take a look at our video tutorial on using Claid with Google Drive for automatic image upscaling.
Also, feel free to explore our templates to see what else you can do:
- AI Backgrounds for Shopify Products: Add new products to Shopify, and Claid AI will automatically wrap them in stunning backgrounds. It updates your listings without extra work from you.
🚀 Try this template
- Background Removal in Slack with Claid AI: Share a photo in Slack, and Claid AI removes the background. You get clean, ready-to-use images in your Slack channel, great for online stores or ads.
🚀 Try this template
- Better Dropbox Images with Claid AI: Put a new photo in Dropbox, and Claid AI improves the colors and lighting. The enhanced images save right back to Dropbox, hassle-free.
🚀 Try this template
Want more? Find other handy templates here.
Building custom Zaps for tailored workflows
If the existing templates don’t cover your specific needs, creating custom Zaps is your go-to solution. This allows you to build workflows exactly as you want them, integrating Claid’s AI features with your choice of apps.
How to set up a custom Zap:
- Start from scratch: In Zapier, choose to create a new Zap. This is your starting point for building a workflow tailored to your unique requirements.
- Choose your apps and triggers: Select the app you want to start with (like Dropbox) and define the trigger (like a new file upload).
- Integrate Claid's features: Add a step to use Claid’s capabilities, such as background removal or color correction, on the images triggered in the first step.
- Complete the loop: Decide where you want the processed images to go. This could be sending them back to the original app or forwarding them to a different one, depending on your workflow.
Pro tip: Don't hesitate to try different combinations of apps and Claid features. Experimentation can lead to discovering the most efficient workflow for your needs.
Start with Claid x Zapier today for free
Make your image editing simpler with Claid x Zapier. It's free to begin, easy to set up, and works with your favorite tools. Sign up here and see how it can help you.

Claid.ai
January 26, 2024